Генерация изображения штрих-кода в приложении ASP.NET MVC5
В этом разделе
Данное руководство демонстрирует, как создать пустое приложение ASP.NET MVC5 в Visual Studio .NET 2019 и сгенерировать изображение штрих-кода в приложении ASP.NET MVC5.
Вот шаги, которые необходимо выполнить:
-
Создайте пустое приложение ASP.NET MVC5.
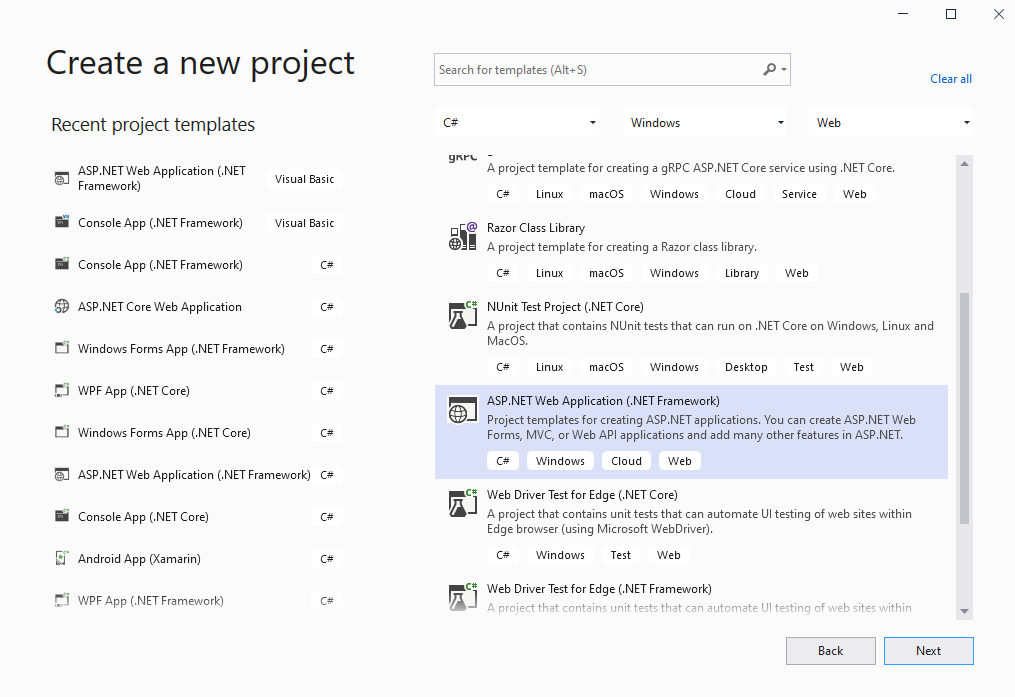
Запустите Visual Studio .NET 2019 и создайте новый проект, тип проекта - веб-приложение ASP.NET. Включите в проекте использование .NET Framework 4.7.2:
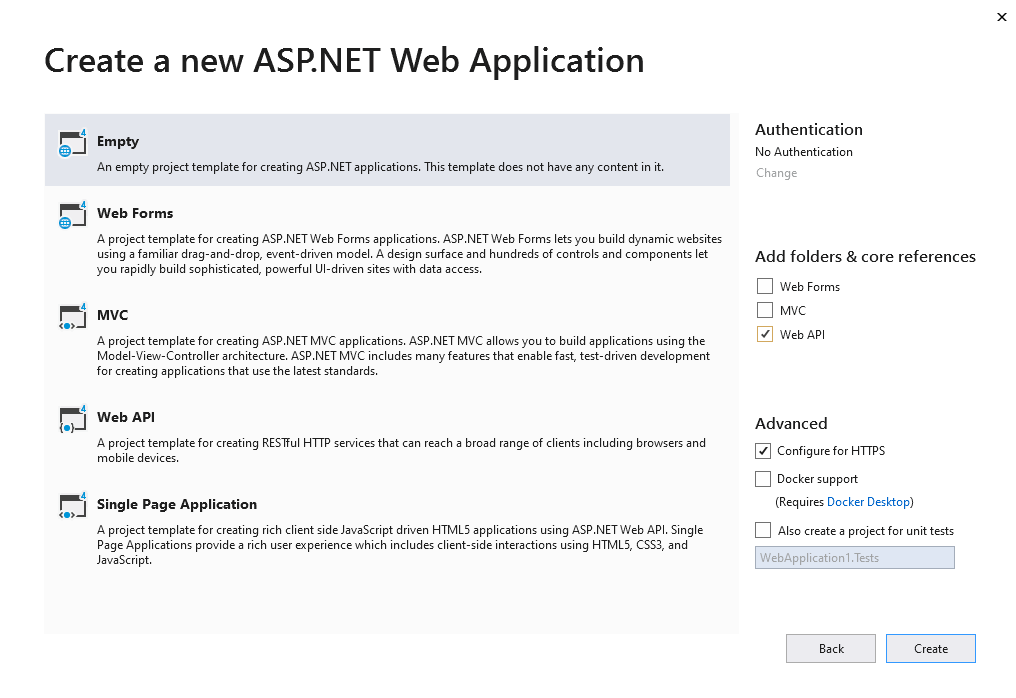
Выберите шаблон "Empty" для веб-приложения ASP.NET и включите в проекте использование Web API:
-
Серверная сторона: Добавьте ссылки на сборки Vintasoft assemblies в приложение ASP.NET MVC5.
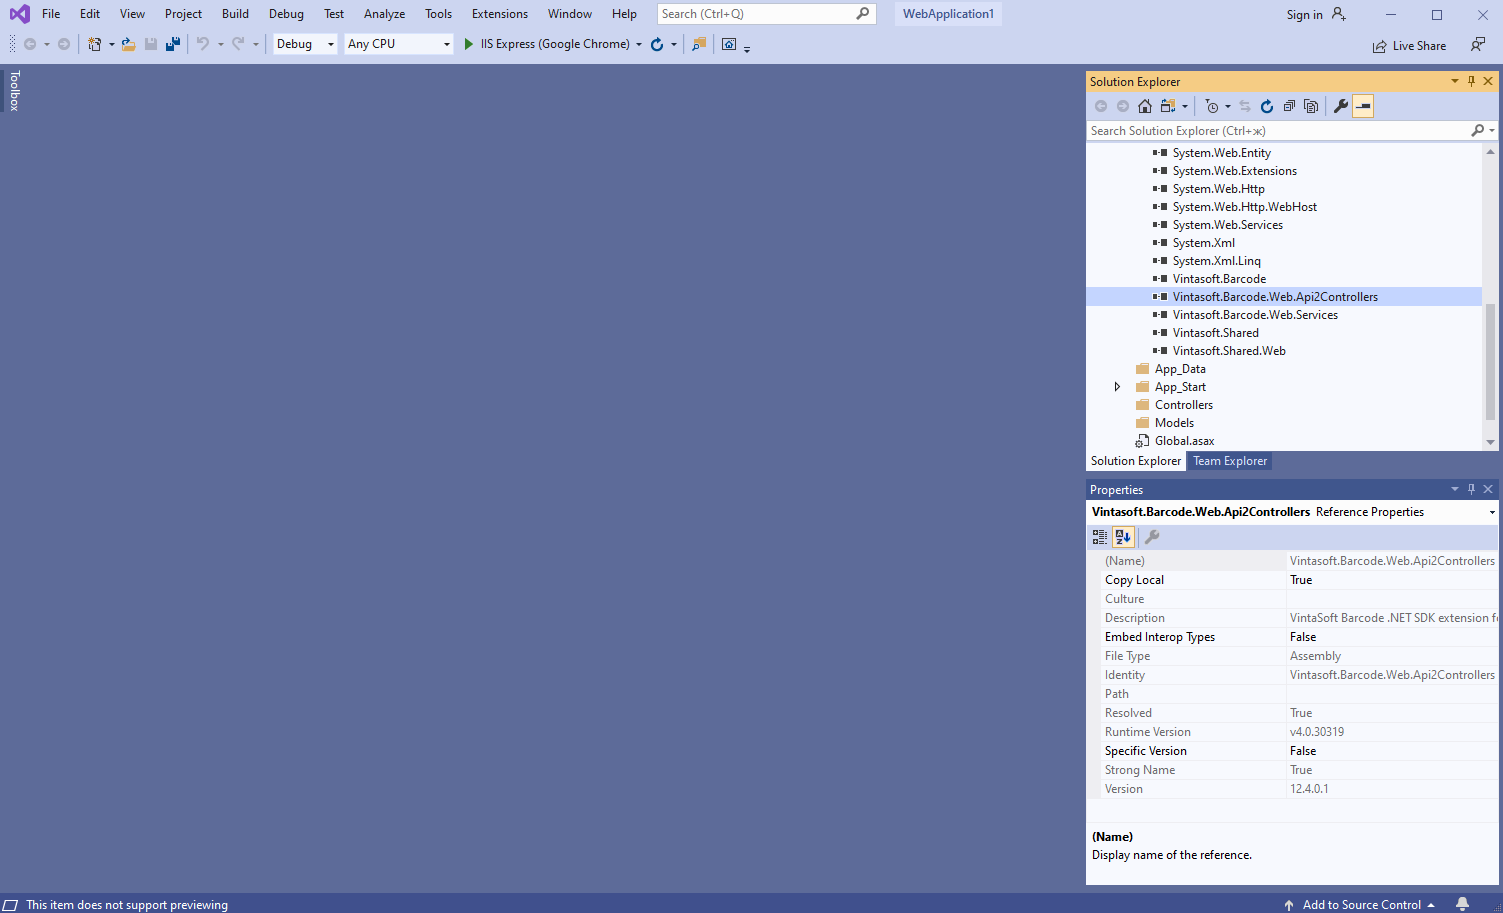
Добавьте ссылки на сборки Vintasoft.Barcode.dll, Vintasoft.Barcode.Gdi.dll, Vintasoft.Shared.dll, Vintasoft.Shared.Web.dll, Vintasoft.Barcode.Web.Services.dll и Vintasoft.Barcode.Web.Api2Controllers.dll из папки "<InstallPath>\VintaSoft Barcode .NET 15.1\Bin\DotNet4\AnyCPU\" в приложение ASP.NET MVC5.
Комментарий: Ссылка на сборку Vintasoft.Barcode.Gdi.dll необходима только в том случае, если SDK должен рисовать текстовое значение штрих-кода на изображении штрих-кода. Вместо сборки Vintasoft.Barcode.Gdi.dll можно использовать сборку Vintasoft.Barcode.ImageSharp.dll или Vintasoft.Barcode.SkiaSharp.dll.
-
Серверная сторона: Добавьте в приложение ASP.NET MVC5 контроллер Web API 2, который позволяет генерировать штрих-коды.
-
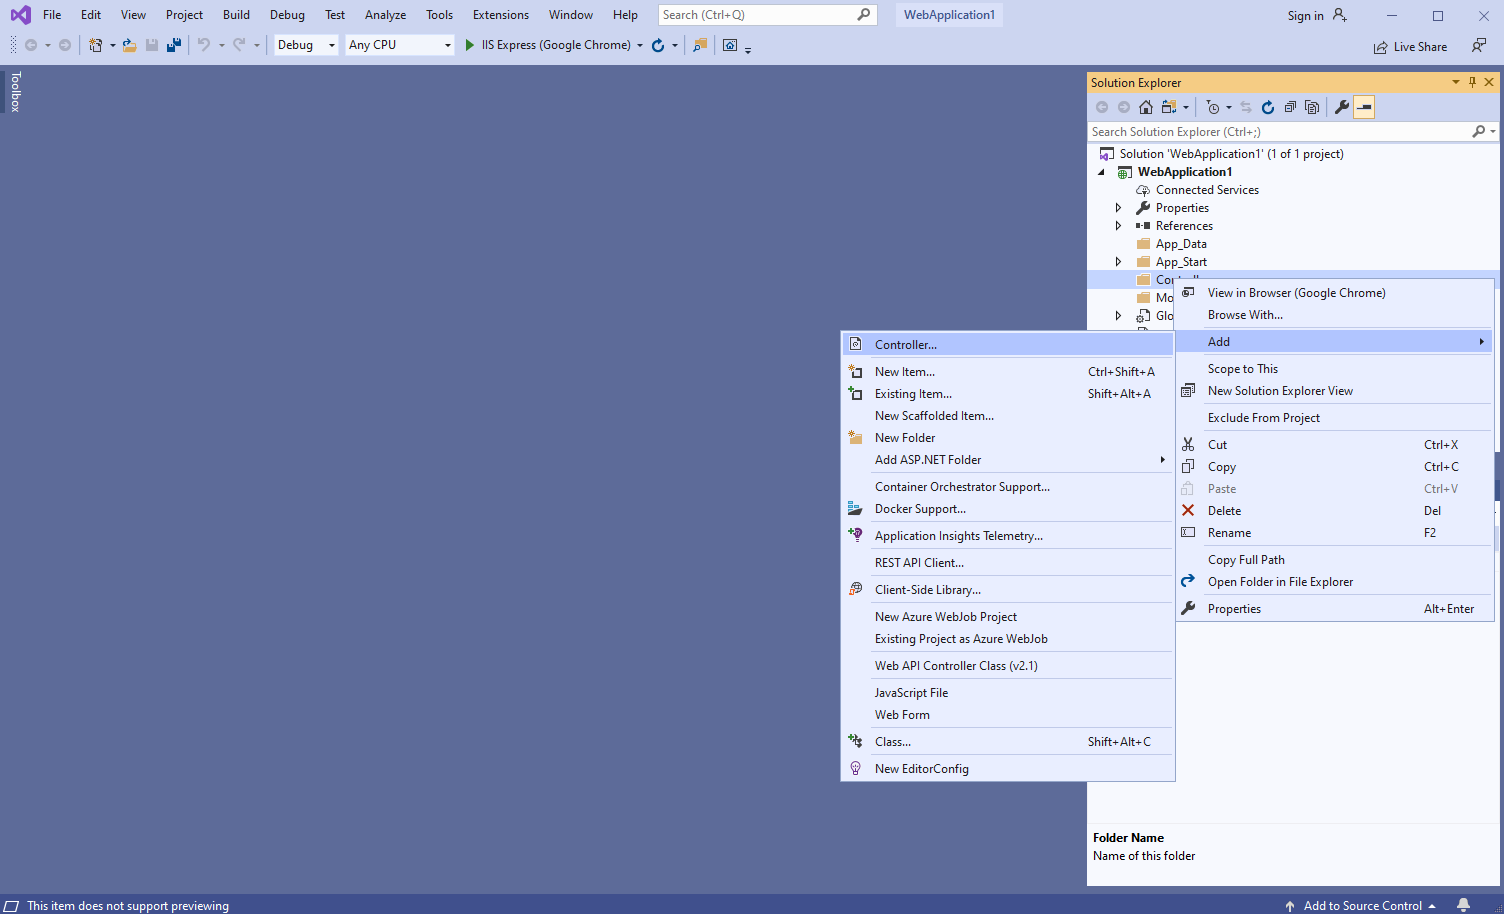
Нажмите правую кнопку мыши на папке "Controllers" и выберите "Add => Controller..." в контекстном меню
-
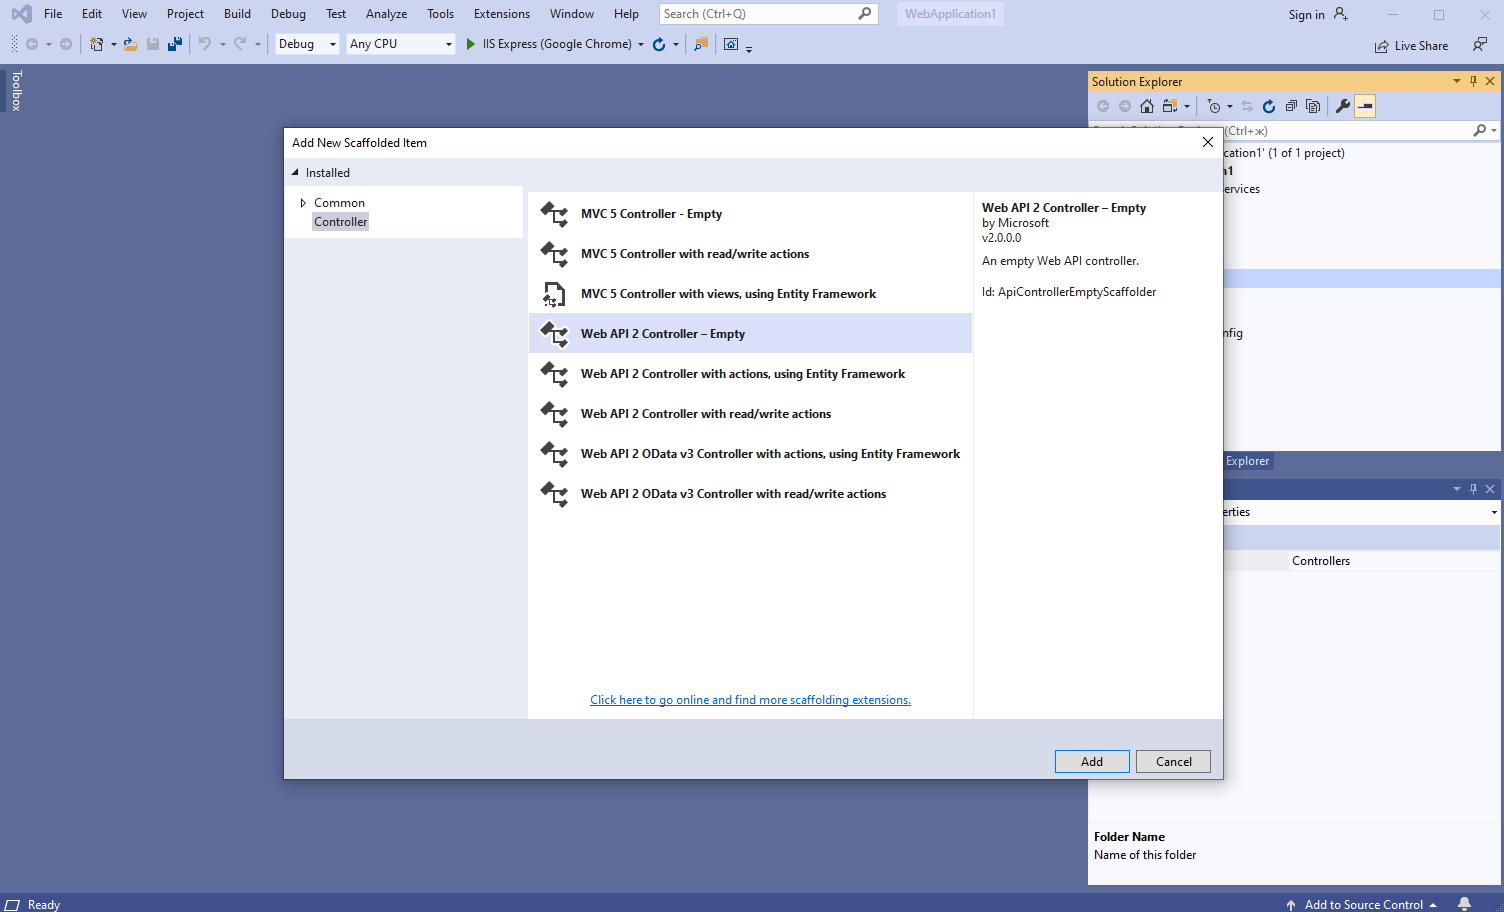
Выберите шаблон "Web API 2 Controller - Empty", задайте имя контроллера "MyVintasoftBarcodeApiController" и нажмите кнопку "Add"
-
Укажите, что класс MyVintasoftBarcodeApiController является производным от класса Vintasoft.Barcode.Web.Api2Controllers.VintasoftBarcodeApi2Controller
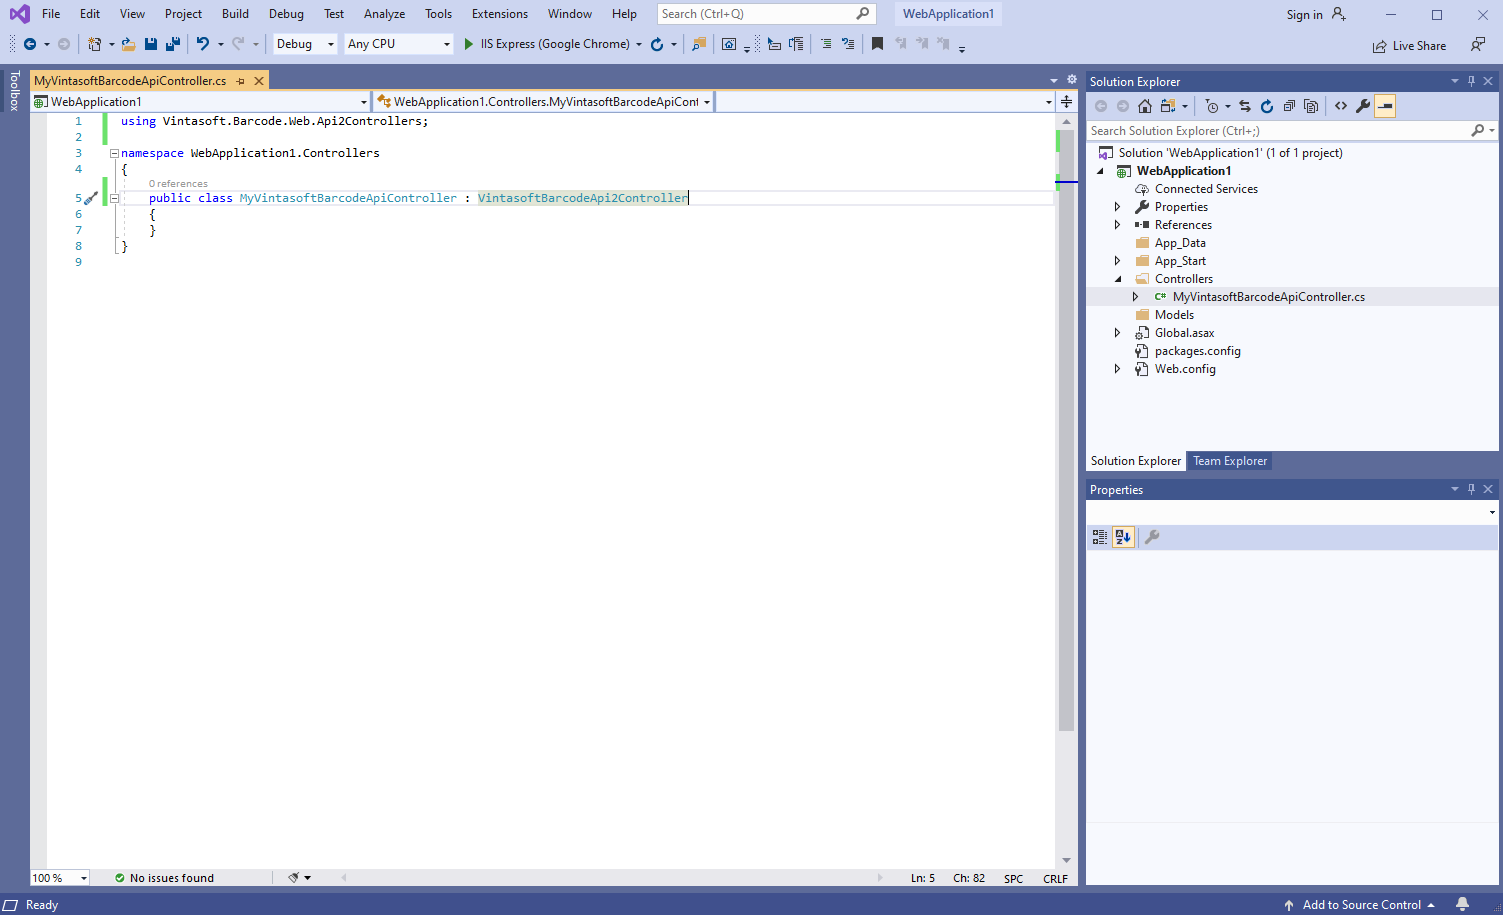
Вот исходные коды C# класса MyVintasoftBarcodeApiController:
using Vintasoft.Barcode.Web.Api2Controllers;
namespace WebApplication1.Controllers
{
public class MyVintasoftBarcodeApiController : VintasoftBarcodeApi2Controller
{
}
}
-
Откройте файл "App_Start\WebApiConfig.cs" и убедитесь, что приложение ASP.NET MVC корректно регистрирует маршрут для контроллера Web API.
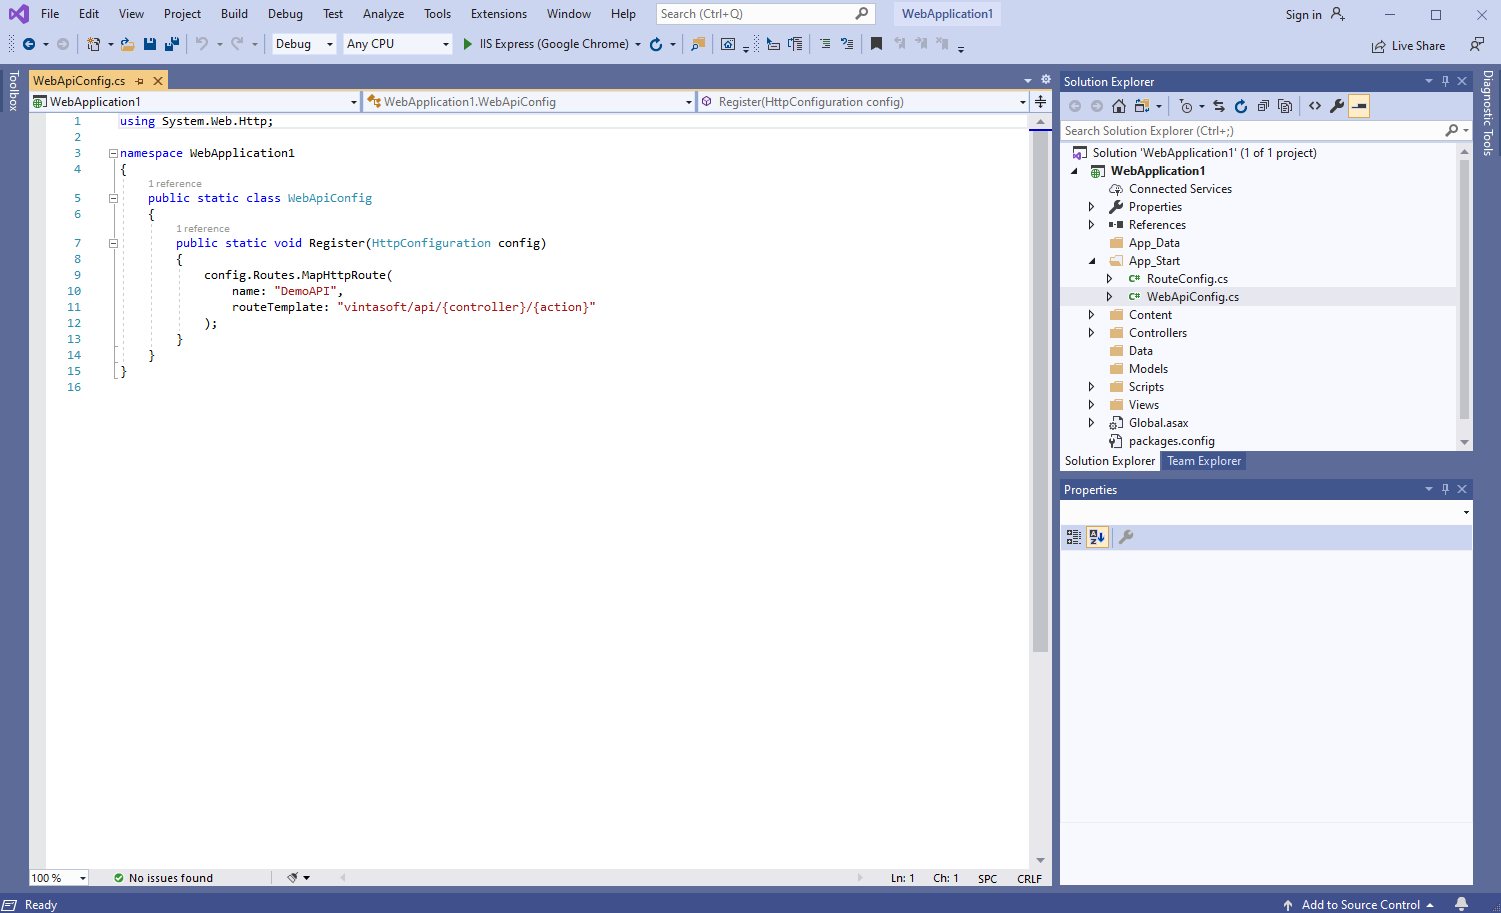
Вот исходные коды C# файла WebApiConfig.cs:
using System.Web.Http;
namespace WebApplication1
{
public static class WebApiConfig
{
public static void Register(HttpConfiguration config)
{
config.Routes.MapHttpRoute(
name: "DemoAPI",
routeTemplate: "vintasoft/api/{controller}/{action}"
);
}
}
}
-
Серверная сторона: Создайте контроллер ASP.NET MVC 5 для веб-представления, которое будет отображать сгенерированный штрих-код.
-
Нажмите правую кнопку мыши на папке "Controllers" и выберите "Add => Controller..." в контекстном меню
-
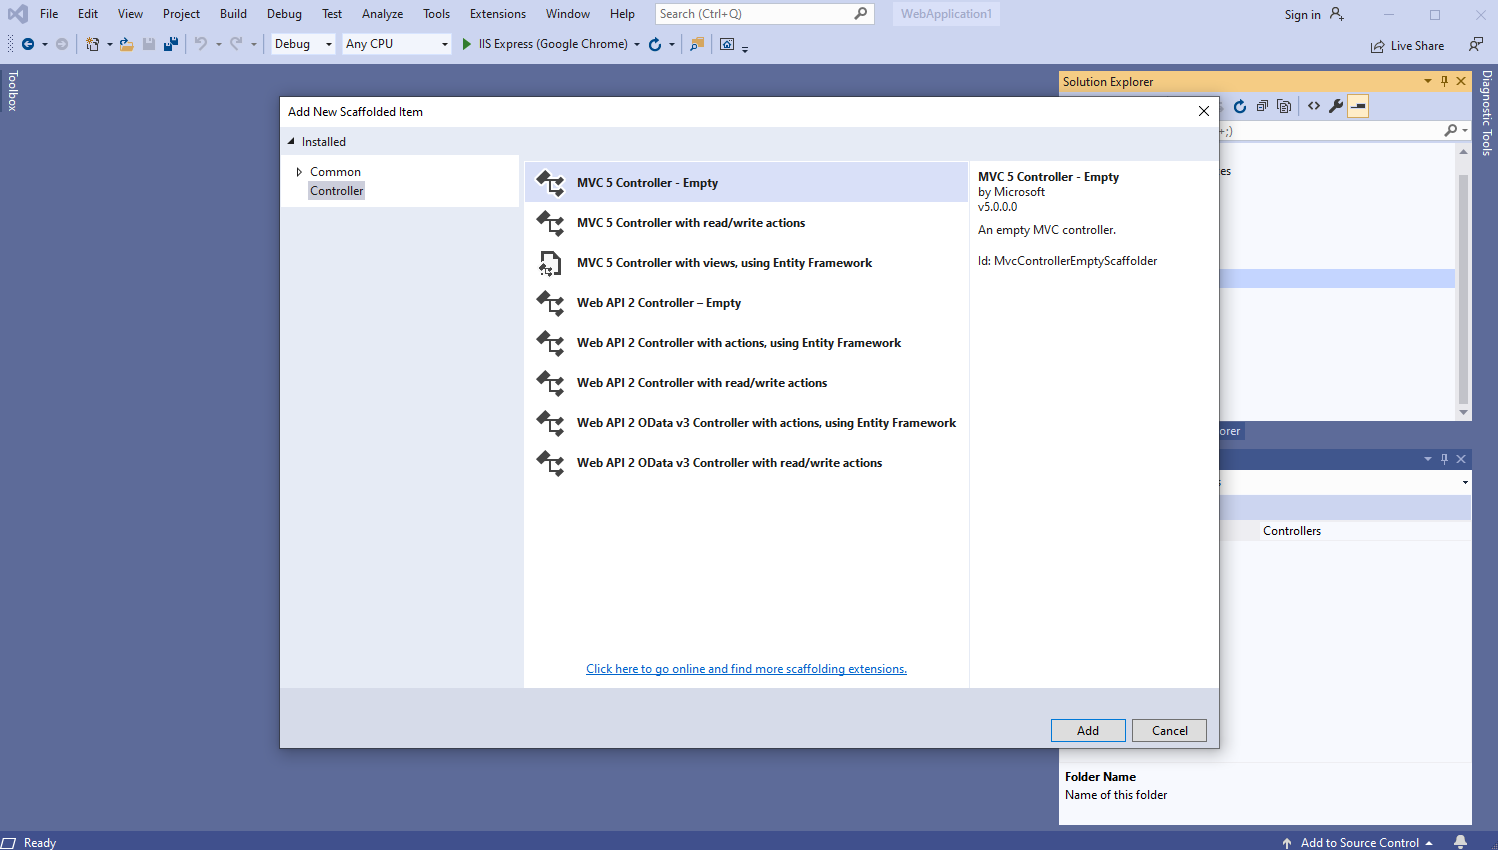
Выберите шаблон "MVC 5 Controller - Empty", задайте имя контроллера "DefaultController" и нажмите кнопку "Add"
-
Откройте файл "App_Start\RouteConfig.cs" и убедитесь, что приложение ASP.NET MVC корректно регистрирует маршрут для контроллера MVC.
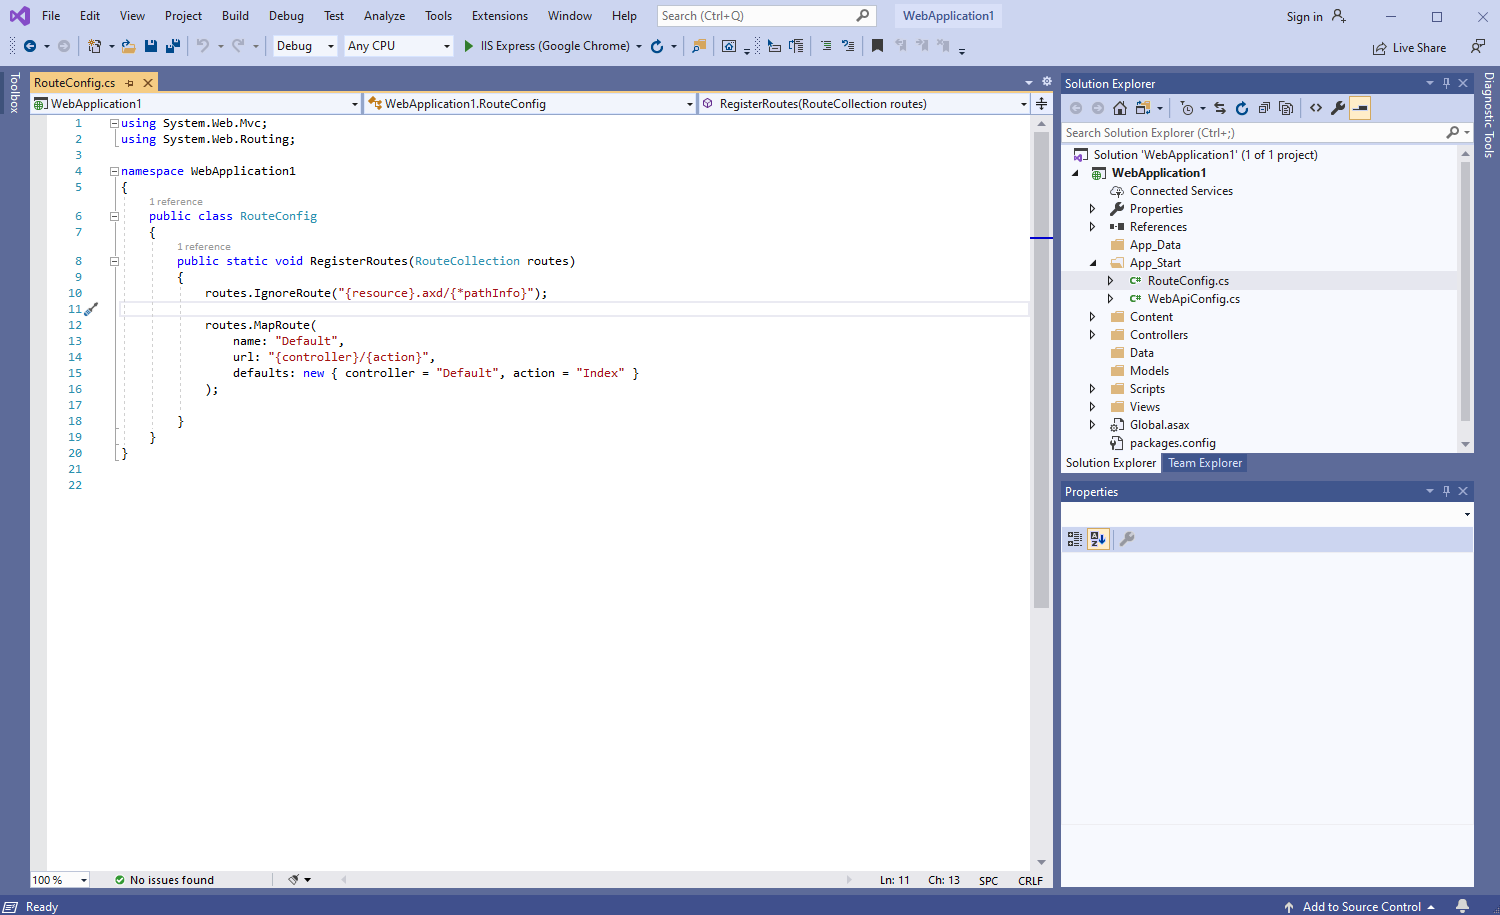
Вот исходные коды C# файла RouteConfig.cs:
using System.Web.Mvc;
using System.Web.Routing;
namespace WebApplication1
{
public class RouteConfig
{
public static void RegisterRoutes(RouteCollection routes)
{
routes.IgnoreRoute("{resource}.axd/{*pathInfo}");
routes.MapRoute(
name: "Default",
url: "{controller}/{action}",
defaults: new { controller = "Default", action = "Index" }
);
}
}
}
-
Серверная сторона: Проверьте глобальную конфигурацию приложения ASP.NET MVC5.
Откройте файл "Global.asax.cs" и убедитесь, что метод "Application_Start" регистрирует все области в приложении ASP.NET MVC, настраивает глобальную конфигурацию HTTP для приложения ASP.NET, регистрирует маршруты для приложения ASP.NET MVC.
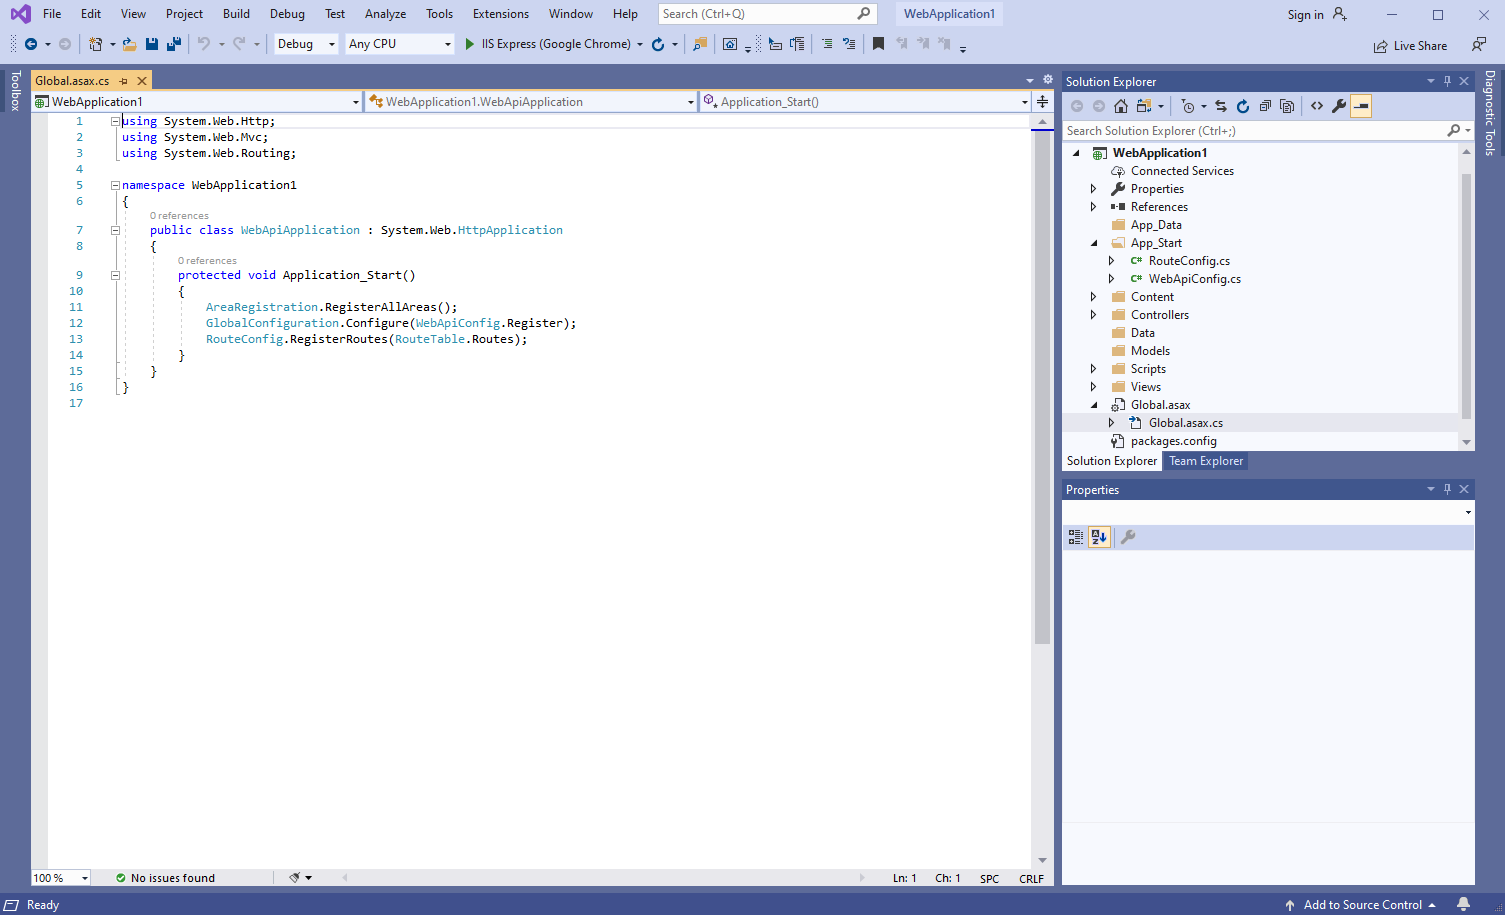
Вот исходные коды C# файла Global.asax.cs:
using System.Web.Http;
using System.Web.Mvc;
using System.Web.Routing;
namespace WebApplication1
{
public class WebApiApplication : System.Web.HttpApplication
{
protected void Application_Start()
{
AreaRegistration.RegisterAllAreas();
GlobalConfiguration.Configure(WebApiConfig.Register);
RouteConfig.RegisterRoutes(RouteTable.Routes);
}
}
}
-
Клиентская сторона: Создайте веб-представление для отображения сгенерированного штрих-кода.
-
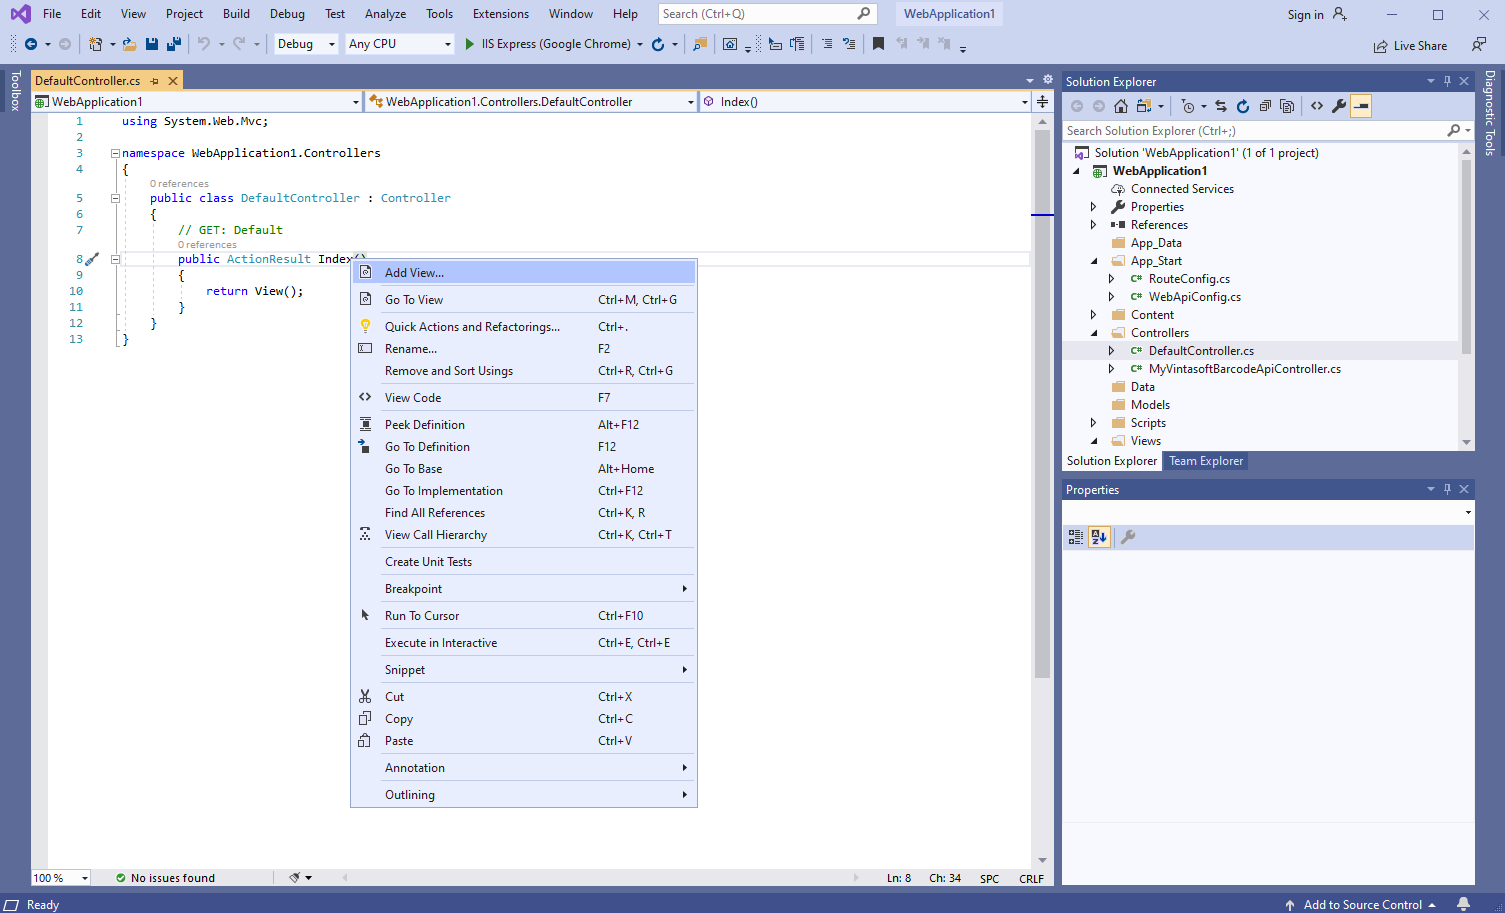
Откройте файл "DefaultController.cs", нажмите правую кнопку мыши на методе "Index" класса DefaultController и выберите "Add View..." в контекстном меню
-
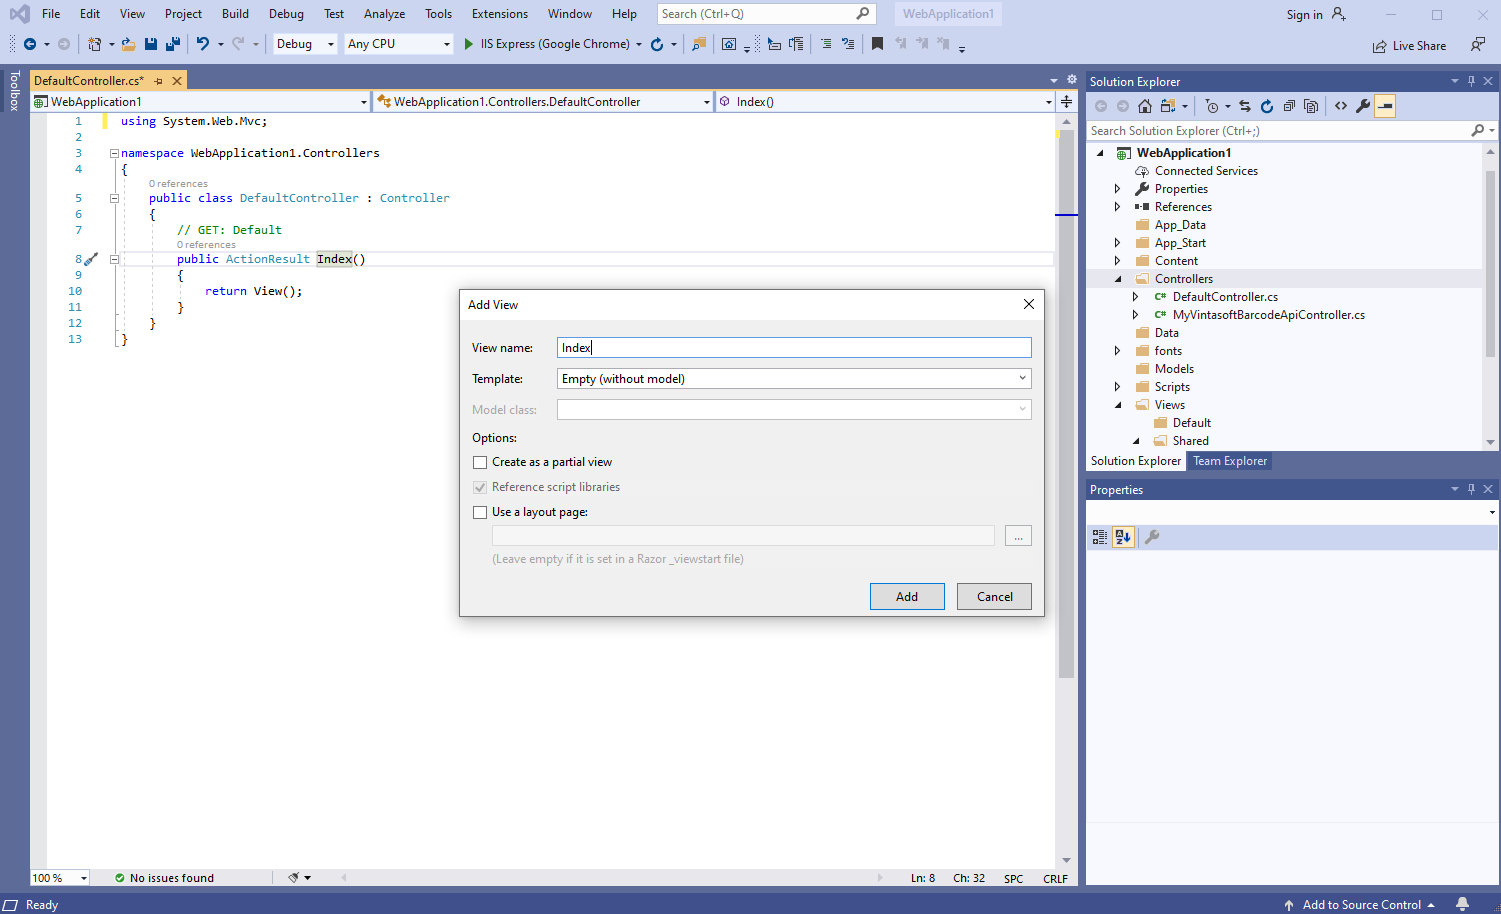
Задайте имя представления "Index", снимите флажок "Use a layout page" и нажмите кнопку "Add" => Будет создан файл "Views\Default\Index.cshtml"
-
Клиентская сторона: Добавьте в проект файлы Vintasoft JavaScript.
-
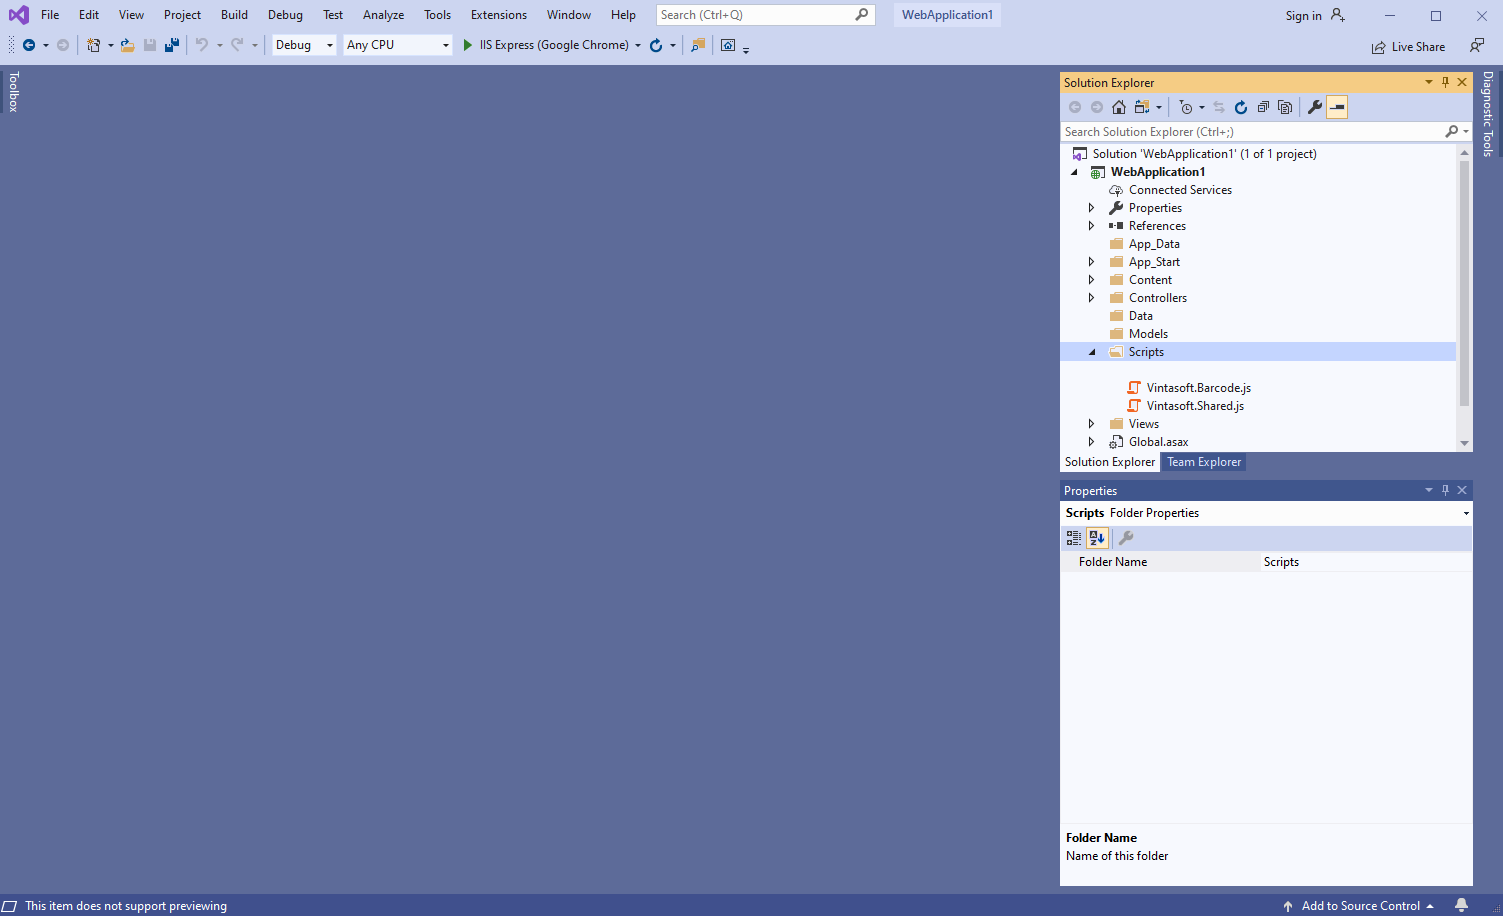
Скопируйте файлы Vintasoft.Shared.js и Vintasoft.Barcode.js из папки "<InstallPath>\VintaSoft Barcode .NET 15.1\Bin\JavaScript\" в папку "Scripts".
-
Клиентская сторона: Добавьте в веб-представление код JavaScript, который генерирует и отображает изображение штрих-кода.
-
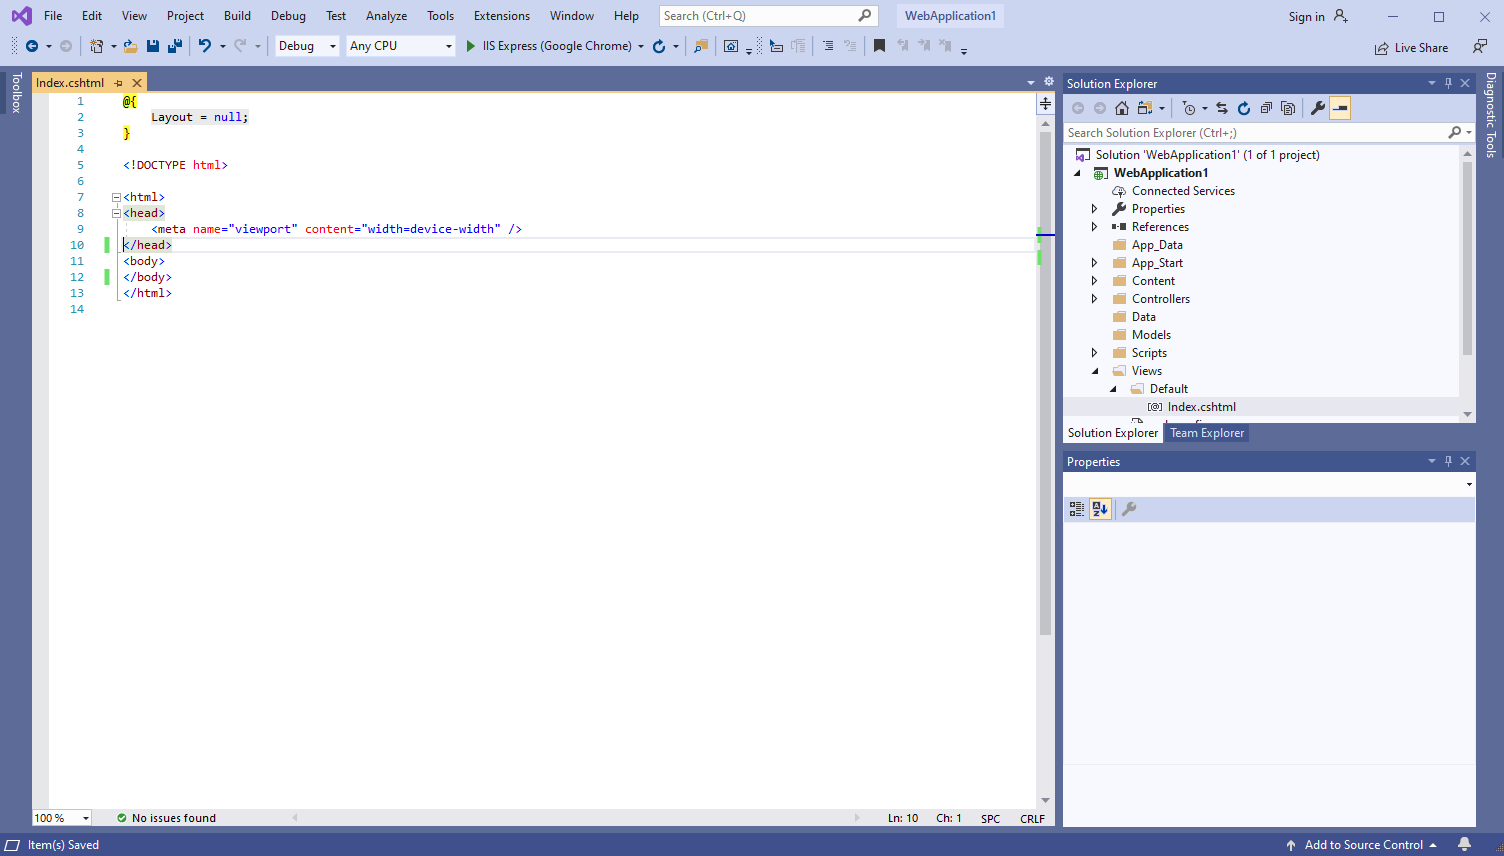
Откройте веб-представление - файл "Views\Default\Index.cshtml".
-
Добавьте ссылки на файлы Vintasoft JavaScript:
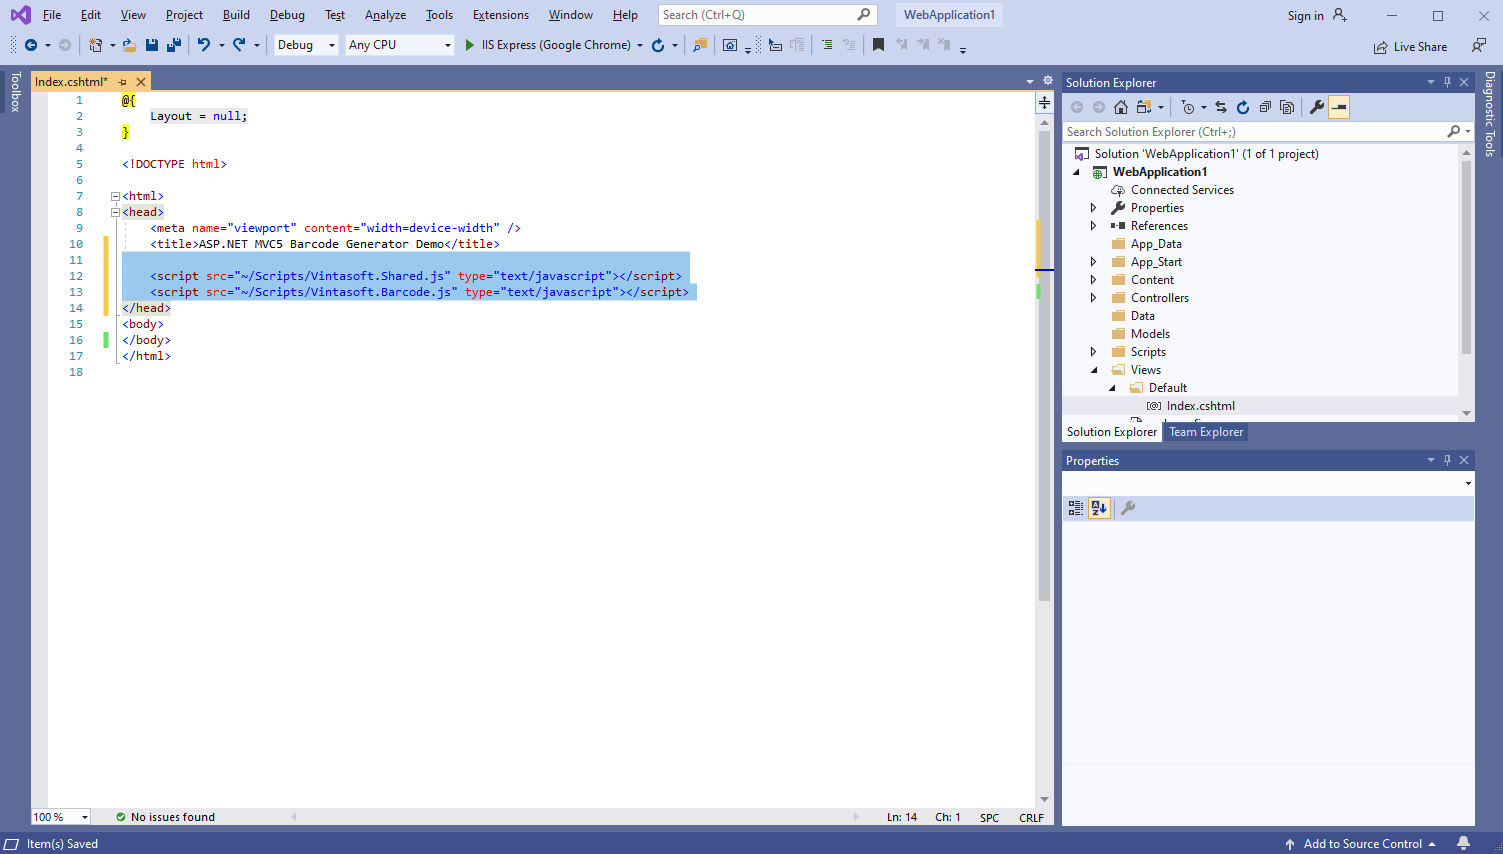
Вот HTML-код, который добавляет ссылки на файлы Vintasoft JavaScript:
<script src="~/Scripts/Vintasoft.Shared.js" type="text/javascript"></script>
<script src="~/Scripts/Vintasoft.Barcode.js" type="text/javascript"></script>
-
Добавьте в веб-представление HTML-разметку (элемент image, который будет отображать сгенерированное изображение штрих-кода):
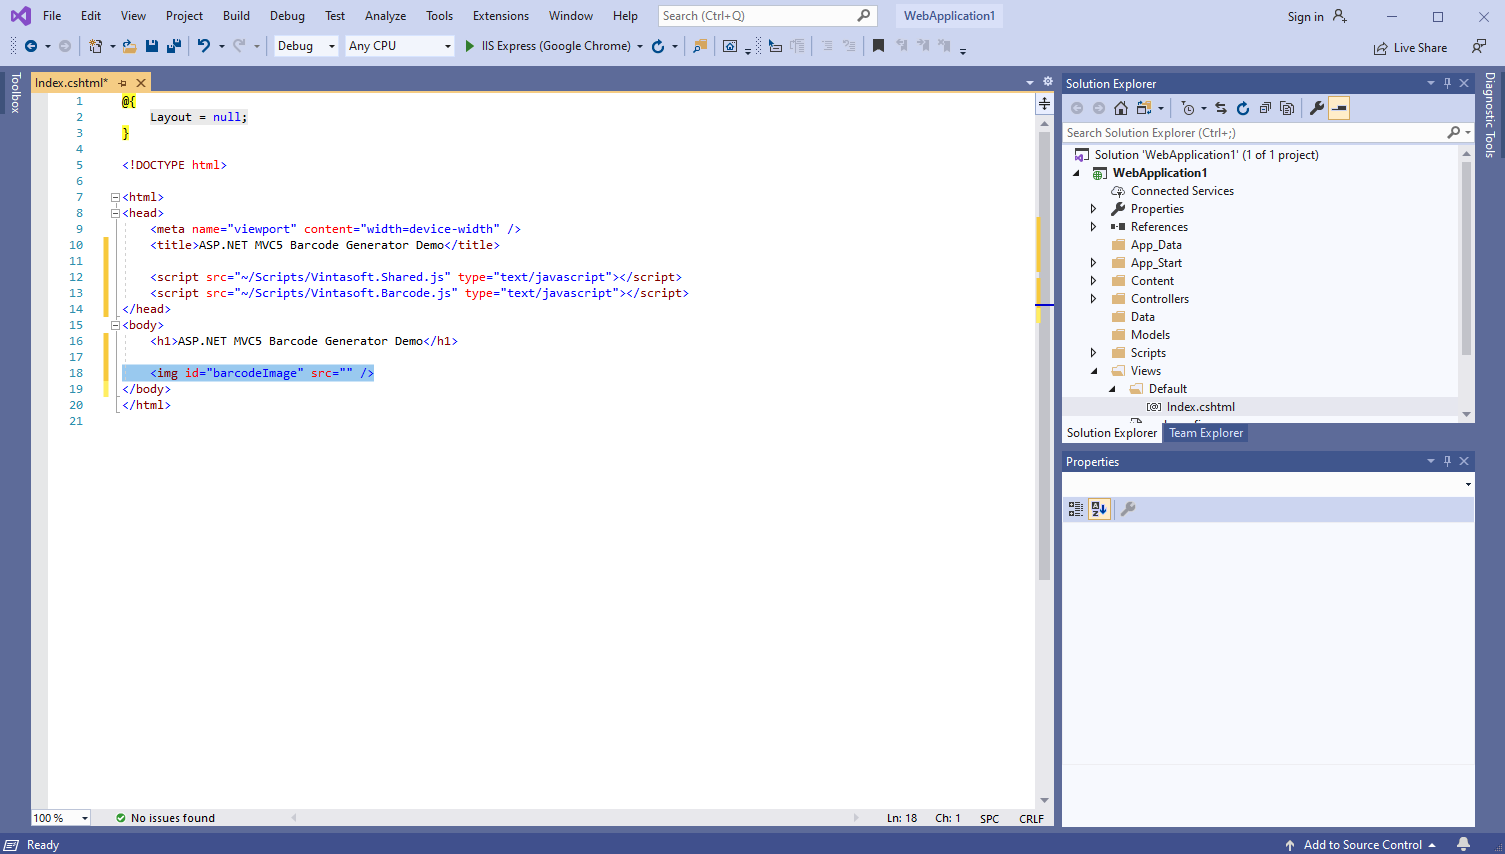
Вот код HTML-разметки:
<img id="barcodeImage" src="" />
-
Добавьте код JavaScript, который генерирует и отображает изображение штрих-кода:
Вот код JavaScript, который генерирует и отображает изображение штрих-кода:
<script type="text/javascript">
/**
* Generates 1D barcode image.
*/
function generate1dBarcodeImage(barcodeType, barcodeValue) {
// create service that allows to generate barcode
var barcodeService = new Vintasoft.Shared.WebServiceControllerJS("/vintasoft/api/MyVintasoftBarcodeApi");
// create the barcode writer
var barcodeWriter = new Vintasoft.Barcode.WebBarcodeWriterJS(barcodeService);
// create the barcode writer settings for generating 1D barcode
var barcodeWriterSettings = new Vintasoft.Barcode.Web1DBarcodeWriterSettingsJS();
// specify that barcode writer must generate QR barcode image
barcodeWriterSettings.set_BarcodeType(new Vintasoft.Barcode.Web1DBarcodeTypeEnumJS(barcodeType));
// specify the Code128 barcode value
barcodeWriterSettings.set_Value(barcodeValue);
// specify settings for barcode writer
barcodeWriter.set_Settings(barcodeWriterSettings);
// send an asynchronous request for getting barcode image as Base64 string
barcodeWriter.getBarcodeAsBase64Image(__writeBarcode_success, __writeBarcode_failed);
}
/**
* Generates 2D barcode image.
*/
function generate2dBarcodeImage(barcodeType, barcodeValue) {
// create web service that allows to generate barcode
var barcodeService = new Vintasoft.Shared.WebServiceControllerJS("/vintasoft/api/MyVintasoftBarcodeApi");
// create the barcode writer
var barcodeWriter = new Vintasoft.Barcode.WebBarcodeWriterJS(barcodeService);
// create the barcode writer settings for generating 2D barcode
var barcodeWriterSettings = new Vintasoft.Barcode.Web2DBarcodeWriterSettingsJS();
// specify that barcode writer must generate QR barcode image
barcodeWriterSettings.set_BarcodeType(new Vintasoft.Barcode.Web2DBarcodeTypeEnumJS(barcodeType));
// specify the QR barcode value
barcodeWriterSettings.set_Value(barcodeValue);
// specify settings for barcode writer
barcodeWriter.set_Settings(barcodeWriterSettings);
// send an asynchronous request for getting barcode image as Base64 string
barcodeWriter.getBarcodeAsBase64Image(__writeBarcode_success, __writeBarcode_failed);
}
/**
* Barcode is generated successfully.
*/
function __writeBarcode_success(data) {
if (data.success) {
var barcodeImage = data.barcodeImage;
document.getElementById("barcodeImage").src = barcodeImage;
}
else {
alert(data.errorMessage);
}
}
/**
* Barcode generation is failed.
*/
function __writeBarcode_failed(data) {
// show information about error
alert(data.errorMessage);
}
// set the session identifier
Vintasoft.Shared.WebImagingEnviromentJS.set_SessionId("SessionID");
// generate image of QR barcode with value "12345"
generate2dBarcodeImage("QR", "12345");
</script>
-
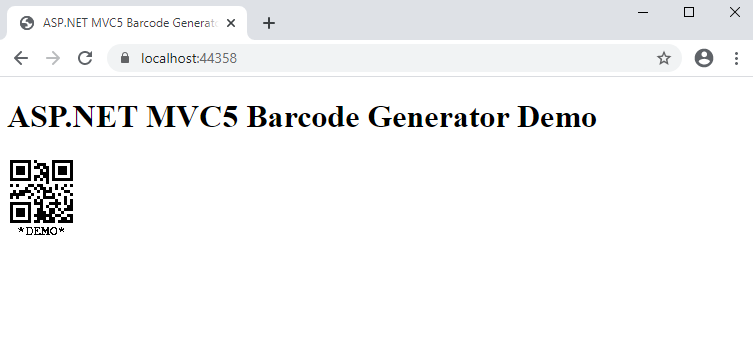
Запустите приложение ASP.NET MVC5 и оцените результат.